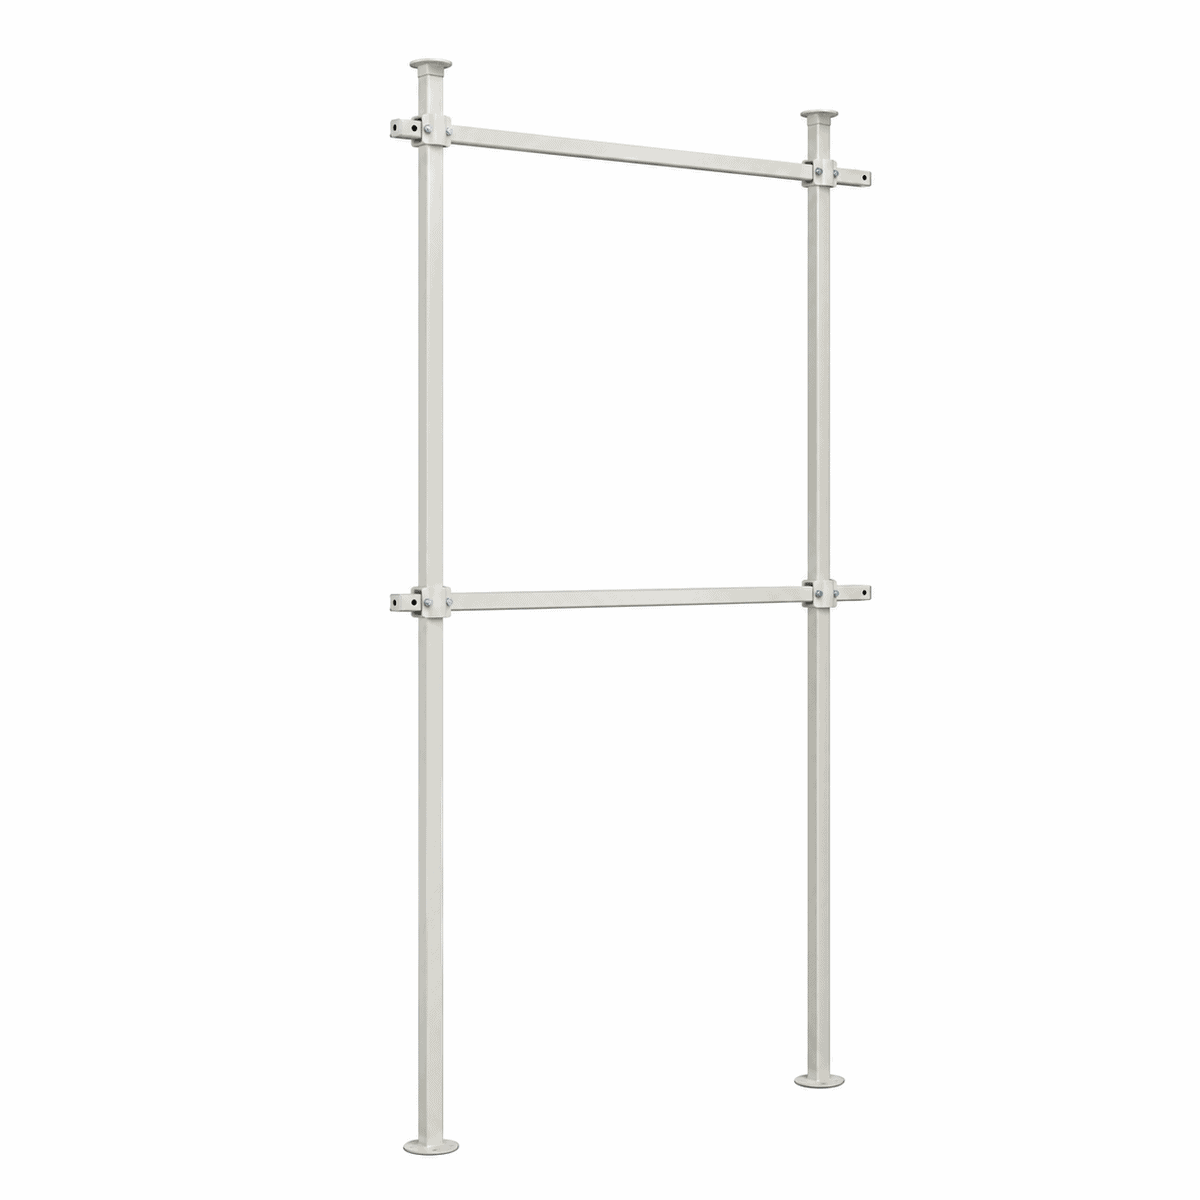
Technical Specifications
Height range 170 – 280 cm (adjustable)
Width range 100 – 170 cm (adjustable)
Depth (base footprint) 18 cm
Pole configuration – 2 parts: upper pole (32 mm diameter) + lower pole (38 mm diameter)
Horizontal rods 2 rods – 1 upper / 1 lower
Total load capacity up to 100 kg (with evenly distributed load)
Load capacity — rod at 100 cm width 50 kg per rod
Load capacity — rod at 170 cm width 30 kg per rod
Product weight approx. 4.7 kg
Key Features and Characteristics
- One-touch tension installation with no tools required
- A one-touch spring mechanism locks the upper tube against the ceiling – with no need for drilling, wall plugs or permanent alterations to the structure. Suitable for ceilings with height differences or stepped ceilings.
- Double horizontal rod system
- The upper and lower rod positions support a double curtain configuration: a lightweight curtain on the lower rod and a heavy sound-absorbing curtain on the upper rod, allowing layers to be combined for improved acoustic insulation and light shading.
- Wide adjustment range
- Height: 170–280 cm; width: 100–170 cm. Suitable for standard door openings, room partitions and wide window openings in residential and commercial settings.
- Anti-fall safety mechanism
- A safety screw locks the upper tube in the tensioned position to prevent accidental collapse. A fixing pin limits over-extension while the pole is being tightened.
- Designed to protect surfaces
- Rubber rings at all points of contact with the floor and ceiling prevent scratches and pressure marks. No adhesive, sticker tape or fastening means comes into direct contact with the floor or ceiling surface.
Installation
Verify the following requirements for every installation:
Surface rigidity:
The ceiling and floor must be rigid enough to bear the tension load. In cases where structural stability is uncertain, distribute the load using a backing board. Installation on thin plasterboard ceilings or decorative cladding ceilings is not recommended. The manufacturer accepts no liability for damage caused to the ceiling or floor.
Spring travel range:
The one-touch spring mechanism allows movement of up to approx. 2 cm – this is a design feature of the product, not a defect.
Removing items before adjustment:
Remove all items from the horizontal rods before lowering or adjusting the upper tube.
Applying force:
Do not apply lateral force to the poles after installation.
Environmental conditions:
Do not use the product outdoors or in high-humidity environments (risk of corrosion).
Assembly by the customer is required. Tools needed: a flat cloth or rug (to protect the floor during assembly), gloves (optional). No power tools are needed.
| Description | ||
| 1 | Threading
the components |
Fit the rubber rings, round brackets and fixing plates
onto the poles in the correct order (refer to the instruction diagram). |
| 2 | Positioning
the poles |
Stand the two poles vertically at the desired spacing.
Recommended spacing: 70–140 cm centre to centre. |
| 3 | Connecting
the horizontal rods |
Align the round brackets at equal height on both poles.
Insert the rod ends and firmly tighten the fixing screws. |
| 4 | Tensioning
to the ceiling |
Press the One-touch button and push the upper tube towards the ceiling. Once contact is made, raise it a further 15–25 mm to achieve secure tension. |
| 5 | Locking
and checking |
Make sure the safety screw is locked, then shake the poles sideways to confirm a stable installation before hanging the curtains. |
Recommended spacing between the poles: 70–140 cm centre to centre (according to the curtain width specification).